I've chosen the cheapest configuration for all three Tesla models:
Tesla Model X 75D with a 75kWh battery - 237 mile range - 83.000 USD
Tesla Model S 70 with a 75kWh battery - 248 mile range - 75.000 USD (including the 3000USD battery upgrade)
Tesla Model 3 50 with a 50kWh battery - 215 mile range - 35.000 USD
So if we're talking about a 500 mile long trip, you'll have to charge your Tesla at least twice (assuming you start with a full tank), by a total of:
127% on the Model X 75D
117% on the Model S 70/75
150% on the Model 3 50
The Model X and S can supercharge by default, so they can receive 120kWh from the supercharger, which means 50-60kW in 30 minutes. That is around 70-80% charge ... requiring you to charge after 220/230 miles for 30 minutes and once more for 15-20 minutes, assuming you only use superchargers.
For the Tesla Model 3 50 you don't have supercharging included in the price, so you can only charge at inferior charging stations, which output around 20kWh of power, getting you from 10% to 100% in about 2.5 hours. So on the 500 mile trip, you'll be stopping to recharge for about 4 hours total.
SUPERCHARGING THE MODEL 3 COULD BE EXCITING
If 120kWh supercharging will be as efficient as with the Model X and S, the Model 3 could charge from 0% to 100% in just 30 minutes, because it has a smaller battery. This may be extremely compelling for future Model 3 owners to opt for the 2500 USD free supercharging option. For the 500 mile long trip it would mean just 30+15=45 minutes of total charge time, instead of 4 hours at inferior charging stations.
THE CLOSEST UPCOMING MILESTONE FOR MODEL 3
The Tesla design team and engineers have their work cut out for them. In 6 weeks they have to finalize the entire car's structure and manufacturing process for V1.00. Elon Musk recently said, that any good ideas that come after the 6 week deadline, will be implemented only in future revisions of the Model 3.
I wanted to do it for a long time, but every time I sat down to set up my smartphone to take pictures of the screen, I quit, because the camera doesn't take good pictures of monitors in general and I knew it would be a long project. How long? Well, see for yourself! At the end of this post I published all 91 screen captures. As it turns out, this BIOS has a Print Screen feature (F12), all it needs is a USB flash drive to write all the .BMP files. Yes, it makes 2.5MB BMP files, so I converted them to 0.5MB PNGs for upload.
Here's a video I shot, you can barely make out the text, as my smartphone can only shoot in wide mode, while the BIOS appears in 1024 x 768 resolution 4:3 aspect ratio stretched to 1280 x 1024 5:4 aspect ratio. That's what you get with a smartphone, which has a current retail price of just 50 USD... Allview A5 Quad Black ...
What I really like about this mainboard is the ASUS EPU, which is a slightly more advanced VRM controller, capable of setting the frequency of the CPU cores - independently - to the optimal value and delivers the appropriate amount of power between 0.8-1.1V in my case (Celeron G1820). With this configuration, I get about the same result as with my old ASROCK mainboard , which I set to 0.8V and the CPU core frequencies were tied together, but the overall performance seems more dynamic now.
The second thing I like about this mainboard, is the Silent setting for the CPU FAN. It keeps my CPU at around 50 degrees C under load, just like my old ASROCK H81M-DGS2.0 mainboard, where I set the FAN speed manually to 0% at 40 degrees and 100% at 60 degrees (Celsius), leaving the BIOS to figure out the percentages in between.
SO let's see what's inside the ASUS H81M-K BIOS:
When you first enter the BIOS, you're greeted by the EZ Mode, where the most important information is displayed, so you can check whether the PC detected all the components. There are also the most basic settings: Language, FAN speed profile, Power management and Boot priority.
By pressing F3 or by clicking the button in the bottom left corner you can add shortcuts to other menus from the Advanced mode, but I haven't tried it ... I prefer the advanced mode all the time.
You can see SATA Information if you press the bottom center button:
The boot menu button (F8) is self explanatory:
Available languages (this may vary by region of sale):
FAN Settings:
Switched to Advanced mode (F7):
For some reason you can write notes to every page ...
This next option needs to be enabled if you want to use the iGPU and the installed discrete video card, to connect more monitors. It's on the my last modified log, but you'll find it in a submenu in one of the captures bellow ...
I use it with an ATI Radeon 5550 512MB card, and both (analog) monitors appear in the Catalyst Control Center:
I NEVER SET BIOS PASSWORDS ... they just complicate things ...
With non-overclocking processors, you can only adjust these settings to lower values, with the exception of GPU boost, which works more or less, depending on the chip lottery:
The EPU power saving can be enabled at the bottom of the page.
Speedstep technology enables the processor to quickly decrease or increase its frequency, according to demand:
If you have a Core i3/i5/i7 processor, it may be worth your while to manually adjust these values. For the dual core Celeron G1820 I left all settings on AUTO:
Advanced mode - CPU Configuration ...
There are a few non-overclocking settings at the bottom:
One more place where you can enable Intel Speedstep?
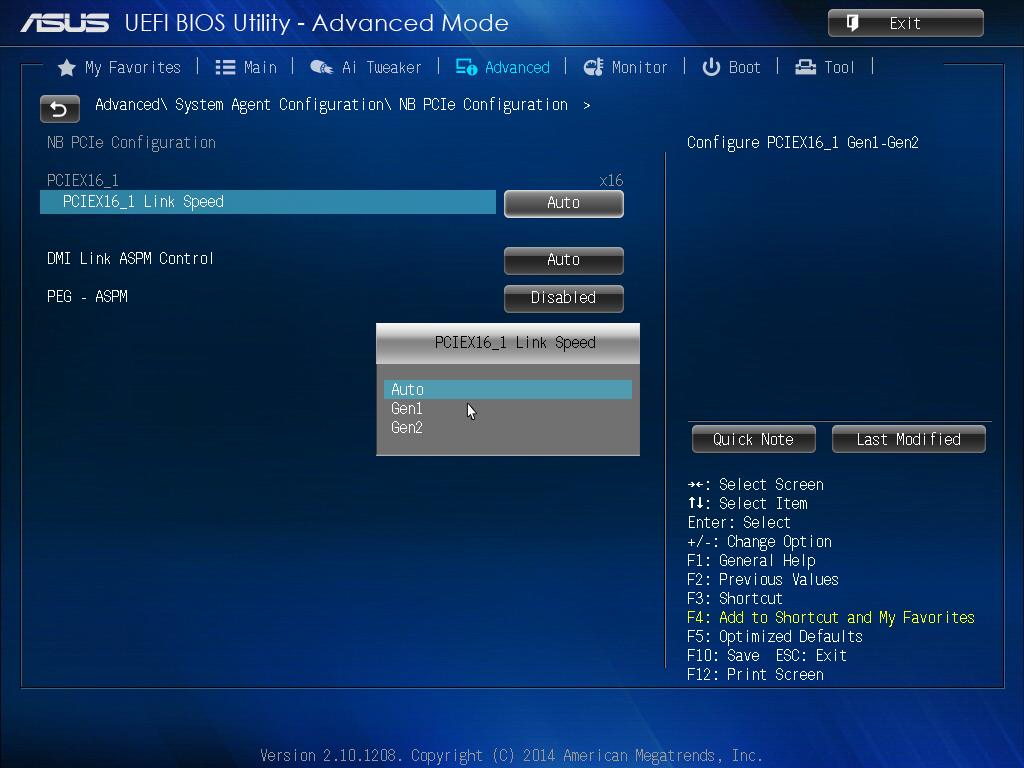
Here you can set the PCI-Express speed, which can be Gen1 or Gen2 on my CPU, but higher end CPUs go up to Gen3:
Intel Rapid start is redundant, as Windows 10 already has a similar or identical feature with the kernel saved on the HDD/SSD:
Intel smart connect is more appropriate for tablets and AIOs. It allows the computer to receive E-mail and messages while in stand-by:
For all new Hard Drives and SSDs AHCI is the only way to go. It's a lot faster and also allows Hot Plug:
I don't recommend aggressive features...
CPU Audio device? This probably refers to the HDMI/DVI port ...
Advanced - System Agent Configuration - Graphics Configuration ... This is where you set the Primary display adapter:
iGPU memory size:
Render stand-by - to reduce power consumption in IDLE mode:
and iGPU multi-monitor mode (which I mentioned earlier in the log) :
This connects the CPU to the chipset, so I don't know what happens if you disable it:
ANother PCI-Express slot speed setting?
Legacy USB support is useful even with new USB devices, as some of them use older designs:
You can tell the BIOS what type of storage device is connected to the USB ... even floppy?
This may be useful to hide a USB stick from other users, plugged in the back ... unfortunately ports can be enabled in Windows too, from the device manager:
On-board audio controller settings and LAN settings:
You can set the audio to go through the HDMI port (DVI in this case, because the mainboard doesn't have native HDMI, you have to use an adapter or DVI-HDMI cable):
When the power goes out (or the UPS gives up) this option can prevent the system from automatically booting on potentially unsafe power, after a lightning bolt strike or power outage.
Voltage/temperature/FAN monitor and FAN control:
This option stops or delays the boot, if one of the voltages is too low or too high:
Some self explanatory settings:
To get rid of the annoying EZ Mode and go directly into Advanced mode when you press F2/DEL at boot:
These are some annoying setting, for when an operating system like Windows 8.1/10 cries for some UEFI access or SAFE BOOT bullsh*t:
BIOS flash utility, has to be done from a flash drive (my ASROCK mainboard could do it directly from the internet, within the BIOS):
SAVE/LOAD Overclocking profiles:
Memory information:
This is actually the first screen, where you can put favorite menus and settings:
I hope this post was useful. Feel free to leave a comment and ask me any question about the mainboard or processor, while I still have them in my possession. Not planning to upgrade anytime soon ...